
blog
categories
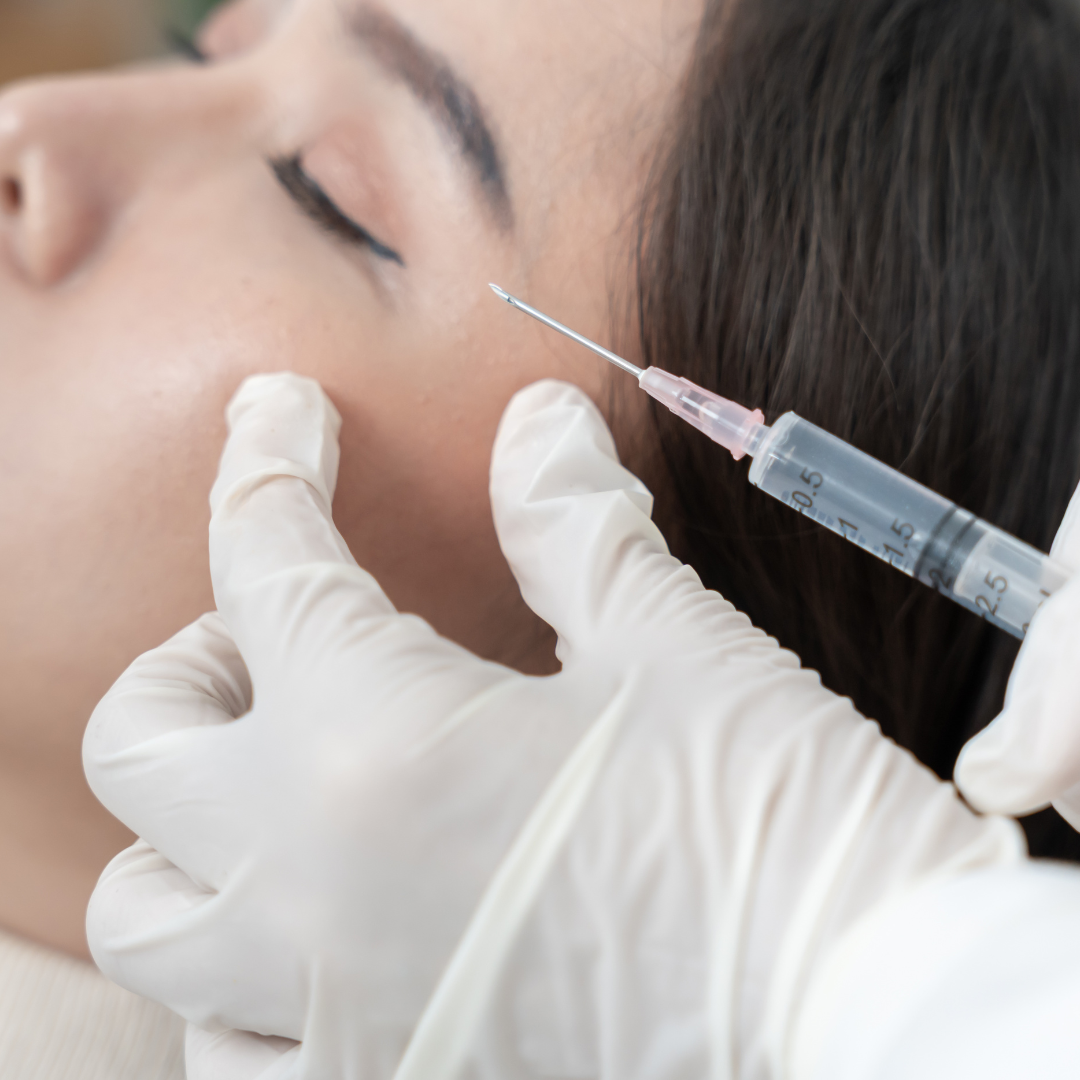
Botox Beginner's Guide: What to Expect at Your First Appointment
Thinking about Botox but not sure what to expect? This beginner-friendly guide covers how wrinkle relaxers work, common treatment areas, recovery, results, pricing, and how to choose the right injector for natural-looking outcomes.
What is Facial Balancing? An Updated Guide in 2026
Facial balancing is the treatment framework built around that observation. Rather than addressing individual features in isolation, it treats the face as a unified system, evaluates how each zone interacts with the others, and makes targeted adjustments that create visual harmony across the board.

Lip Filler Lumps: What’s Normal, What Isn’t, and When to Be Concerned
Lip filler lumps are not always signs of migration or bad filler. Learn the difference between normal healing bumps, overfilled lips, inflammatory intraoral lumps like mucoceles, and when dissolving filler may help improve lip texture and balance.

How Do You Find an Injector in Boston You Can Trust?
Finding an injector in Boston can feel surprisingly difficult in a city where cosmetic work is often subtle, private, and quietly gatekept. This guide breaks down how to identify trustworthy injectors, avoid common red flags, and choose someone whose expertise, aesthetic judgment, and long-term philosophy align with your goals.

Why Are People Getting Chin Filler?
One area that has quietly become one of the most sought-after treatments is the chin. While it is often overlooked, the chin plays a central role in how the lower face appears. Small adjustments in this area can significantly improve facial harmony, jawline definition, and overall proportion.
How to Get Rid of Jowls: Non-Surgical Treatments That Restore Jawline Definition
Jowls develop from a combination of structural changes that occur with age, including bone loss, shifting facial fat, and the downward pull of facial muscles. In this article, we explore several non-surgical treatment options—including temple filler, jawline filler, and platysma tox—that can restore support, improve jawline definition, and reduce the appearance of jowls.

Treating “Turkey Neck” with Platysma Botox
Learn how Platysma Botox smooths neck bands and tightens the jawline for a youthful, lifted appearance. Discover safe, natural-looking results at Clemens Face + Body in Brookline, Boston.

Masseter Botox and Jowls: What You Need to Know
Worried about jowls after Masseter Botox? Learn why this can happen, how to prevent it, and who’s a good candidate for jawline slimming at Clemens Face + Body in Brookline, Boston.

Dissolving Filler: What to Know Before You Hit Reset
Considering dissolving filler? Learn how hyaluronidase works, what to expect after treatment, and how to safely restore natural balance with expert care at Clemens Face + Body in Brookline, Boston.

How to Treat and Prevent the “Tired Look”: From Under-Eyes to Jawline
Tired eyes or dull skin? Learn how to treat and prevent the “tired look” with filler, collagen stimulators, and skin-boosting treatments at Clemens Face + Body in Brookline, Boston.

Microneedling vs. Skin Boosters: Which Is Right for You?
Learn the difference between microneedling and skin boosters—and why combining both enhances collagen, hydration, and texture for radiant, healthy skin. Offered at Clemens Face + Body in Brookline, Boston.

Filler Fatigue: How to Reset and Refine Your Aesthetic Plan
Feeling overfilled or uneven after years of injectables? Learn what causes filler fatigue and how to safely reset your look with dissolving, collagen stimulators, and expert rebalancing at Clemens Face + Body in Brookline, Boston.

The Benefits of Temple Filler: Restoring Balance to the Upper Face
Temple filler restores volume, lifts the brows, and refreshes the eyes. Learn why temple hollowing is overlooked and how expert treatment creates natural results in Brookline, Boston.

Wrinkle Relaxers vs. Fillers: Which Do You Actually Need?
Confused about wrinkle relaxers vs. dermal fillers? Learn the difference, how long they last, and which treatment may be right for you at Clemens Face + Body in Brookline, Boston.

What Can I Expect After Microneedling?
Wondering what to expect after microneedling? Learn about downtime, aftercare, and when results appear with expert guidance from Clemens Face + Body in Brookline, Boston.

Fall Refresh: Why September Is the Perfect Time for Skin Treatments
September is the perfect time to start collagen-stimulating treatments like Radiesse and Sculptra. Learn why fall is ideal for building collagen and refreshing your skin.

How Long Does Facial Balancing Last?
How long does facial balancing really last? Learn the truth about filler longevity, MRI studies showing filler lasting longer than expected, migration concerns, maintenance treatments, and how natural-looking facial balancing is designed to age gracefully over time

Fear of Filler: Answering All Questions from Migration, Looking Fake, and Whether It Impacts Future Facelifts
Worried about filler migration or looking “fake”? Learn the truth about dermal fillers and how to avoid overfilling with expert treatment in Brookline, Boston.

How Skin Boosters Smooth Lines Without Adding Volume
Discover how skin boosters smooth fine lines, improve skin texture, and hydrate from within—without adding volume. Learn why this treatment is a favorite at Clemens Face + Body in Brookline, Boston.

Temple Filler: The Overlooked Secret to Facial Rejuvenation
From softening a hollowed, tired appearance to lifting the brow and enhancing facial harmony, temple filler is one of the most effective (and most underrated) treatments in modern aesthetics.